
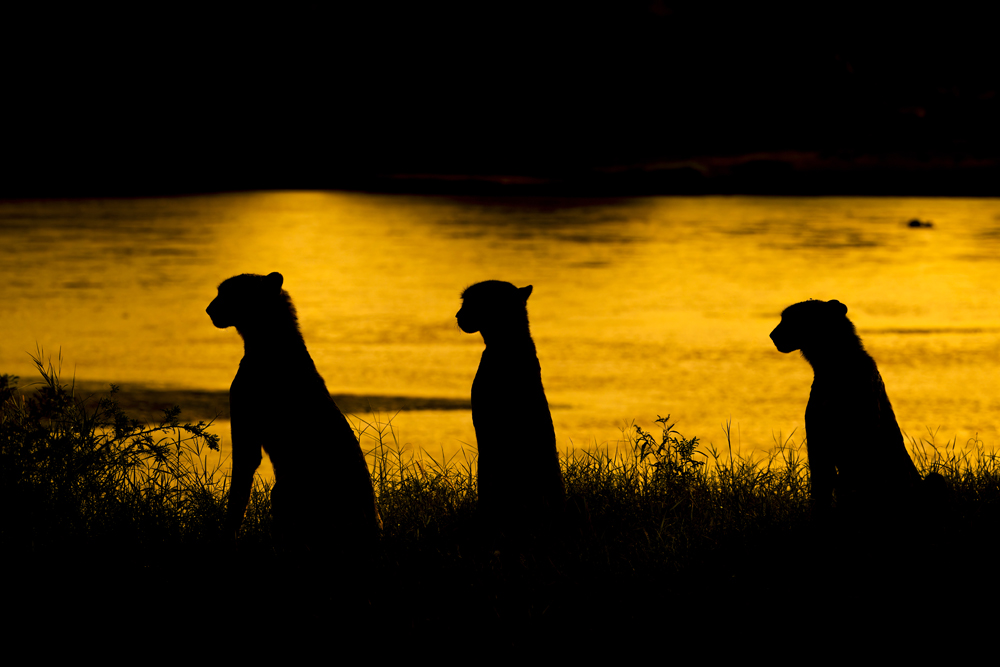
Wildlife Photo Safari Guide: Budgeting, Packing & Planning Your First Safari
If you do not know where to start when Budgeting, Packing and Planning for your first safari then this blog post may help you.
Dreaming of photographing lions at sunrise, elephants crossing the savannah, or a leopard draped across an acacia tree in Africa or Jaguars laying by the river in the Pantanal, or even Tigers in India? A wildlife photo safari is one of the most rewarding experiences a photographer can have. However, unlike a traditional safari holiday, a photography-focused expedition requires careful planning, specialized equipment, and a clear understanding of how to maximize photographic opportunities.
From budgeting and selecting the right destination to choosing photo-friendly guides and packing the correct gear, your preparation can make the difference between returning home with a few snapshots and capturing a portfolio of stunning wildlife images.
In this comprehensive guide, we’ll cover everything you need to know to plan your first photo safari successfully.
This guide is particularly tailored towards African Safaris but can be used for any wildlife photography tour that you will be going on. I currently offer tours to Kenya, Uganda, India, Nepal, Sri Lanka, Finland, Hungary, Brazil, Chile, Argentina and have experience travelling and operating in all of these countries.
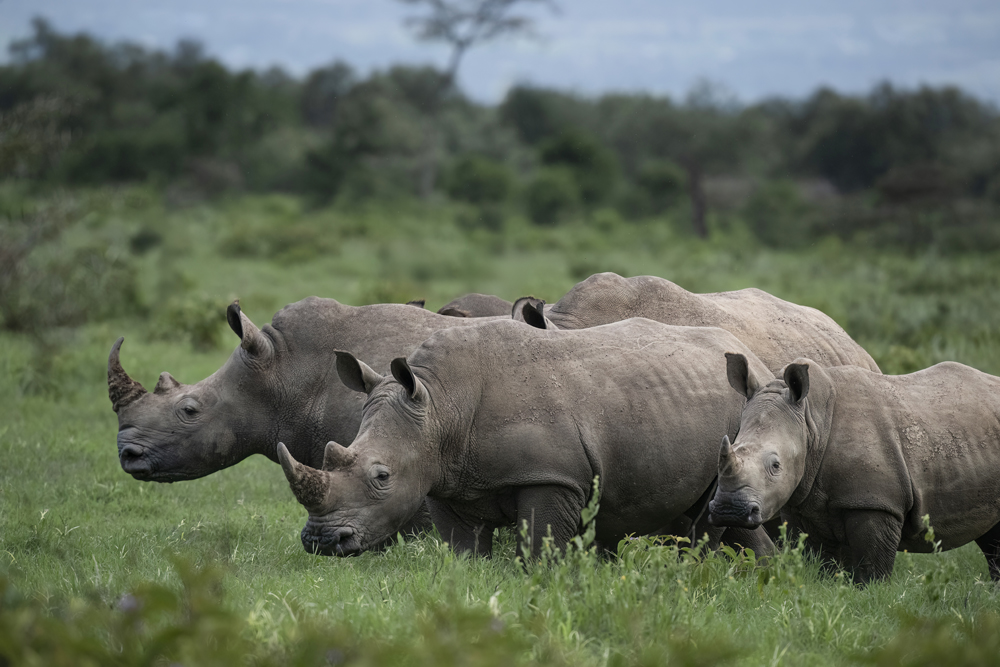
Why a Photo Safari Is Different from a Traditional Safari
Many first-time travellers assume that all safaris offer the same experience. In reality, photography safaris are designed around the needs of photographers rather than general sightseeing.
A traditional safari often focuses on finding as many animals as possible within a limited timeframe. Once a sighting is made, vehicles may move on quickly to the next attraction. For photographers, this approach can be frustrating. Great wildlife photography requires patience, positioning, favorable light, and enough time to observe animal behavior.
A dedicated photography safari prioritizes:
- Extended time at wildlife sightings
- Optimal vehicle positioning for lighting and backgrounds
- Smaller group sizes
- Guides trained in photographic techniques
- Vehicles modified specifically for photographers
Choosing the right type of safari from the beginning dramatically improves your chances of capturing exceptional images.
Budgeting for a Photo Safari: Invest Where It Matters
A photo safari is a significant investment, but smart budgeting can ensure you get the best photographic value for your money.
The key principle is simple:
Spend money on photographic opportunities rather than luxury amenities.
A five-star lodge may be wonderful, but it won’t improve your images nearly as much as a skilled guide, a smaller vehicle group, or access to private wildlife concessions.
Understanding Different Safari Price Levels
Budget and Overland Safaris ($150–$300 Per Day)
Budget safaris are typically designed for general travelers.
Features often include:
- Camping or basic accommodations
- Large group vehicles
- Shared seating
- Fixed itineraries
- Limited flexibility at sightings
While they provide an affordable introduction to African wildlife, they can be challenging for serious photography. Limited space makes it difficult to position yourself for the best angle, and crowded vehicles often result in obstructed views.
Mid-Range Safaris ($400–$800 Per Day)
Mid-range packages offer an excellent balance between comfort and value.
Expect:
- Comfortable lodges or permanent tented camps
- Smaller groups
- More experienced guides
- Generally Morning and Afternoon excursions (not full days)
Many photographers find this category provides the best return on investment, especially for a first safari experience. However if selecting this option then you should have a good knowledge of your camera and also be prepared to compromise on some photographic sightings as generally these safaris do not focus on photography but a quality wildlife experience. Also check the location of the lodge. Some of the lodges in this range are not ideally situated for the prime times to be in the right locations for light etc.
Dedicated Photography Safaris ($700–$2,500+ Per Day)
These trips are specifically designed for wildlife photographers.
Benefits usually include:
- Accommodation in Prime Locations
- Customized photography vehicles
- Professional photo guides – critical if you want to come home with an outstanding portfolio of images. Find out who the guide is and check their portfolio. Are they someone who inspires you with their images?
- Maximum four photographers per vehicle ideally 3 so everyone gets a row of seats to themselves.
- Extended time at sightings
- Off-road driving access
Although expensive, dedicated photo safaris can dramatically increase the quality and variety of your images. If you decide a photographic safari is for you don’t necessarily think that the most expensive is the best. Look at the photographer who is leading the trips portfolio of work on social media and online. Is this someone you think you can learn from and someone who you think can add something to your photography. Contact the photographer directly and ask them any questions that you may have.
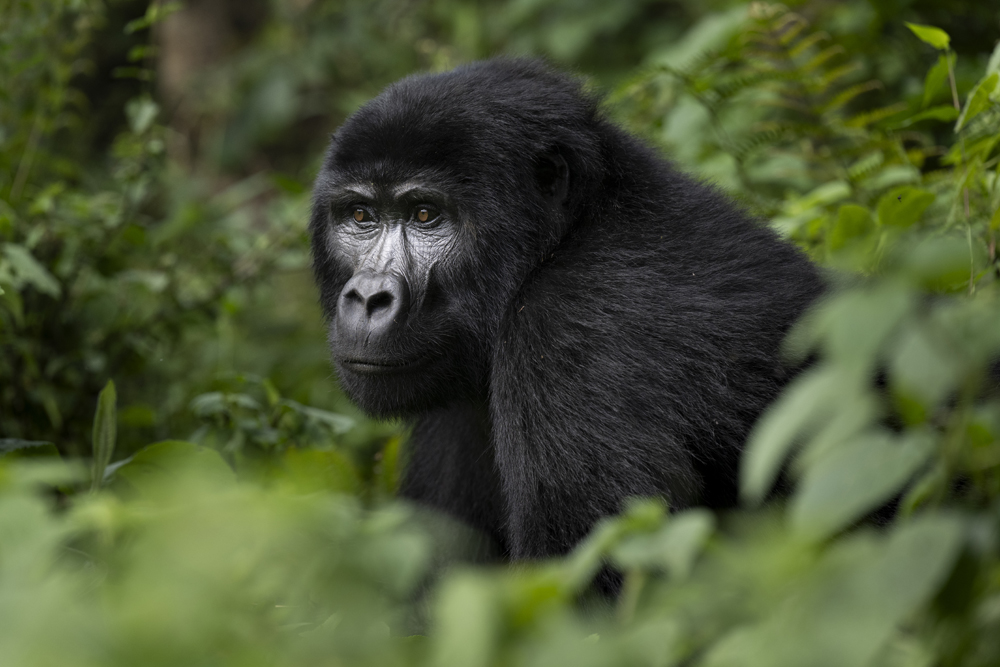
Hidden Safari Costs Most Travelers Forget
Even experienced travellers often underestimate the additional expenses associated with a wildlife photography trip.
Park Fees
National parks and reserves typically charge conservation fees on a daily basis.
Depending on the destination, fees can range from:
- $30 per person per day
- To well over $100 per day in premium reserves. Masai Mara in Kenya is now $200 per day in high season.
Always confirm whether these fees are included in the quoted package price.
Tipping
Tipping is an expected part of safari culture in many African destinations.
A common guideline is:
- $30–$40 per day for your guide
- $10–$15 per day for lodge staff
Tipping although expected should only be done if you are happy with your experience, please don’t tip based on what you see on a safari more on the effort from the guide and how good they are at getting you in the right place. Unfortunately, there is a culture creeping in worldwide where people are tipping guides/drivers if they get them a particular image/species. This is not ethical as on many occasions this offer of an additional tip for a species or an image can cause rules to be broken and ultimately wildlife to be needlessly stressed all for an image!
Internal Bush Flights
Many premier wildlife destinations offer flights via small aircraft.
These flights often enforce strict luggage allowances, sometimes limiting travellers to just 15–20kg (33–44lbs) total.
Photographers carrying large lenses may need to:
- Pay excess baggage fees
- Purchase additional luggage allowances
- In some cases, buy an extra seat for equipment
When I run my photographic safaris, I always travel to the location where possible by road. Most places now have reasonable roads and by travelling by road you get to see and experience a bit of the country that you are visiting, which I always think is important. It also means that you do not need to worry about the luggage allowances on the flight.
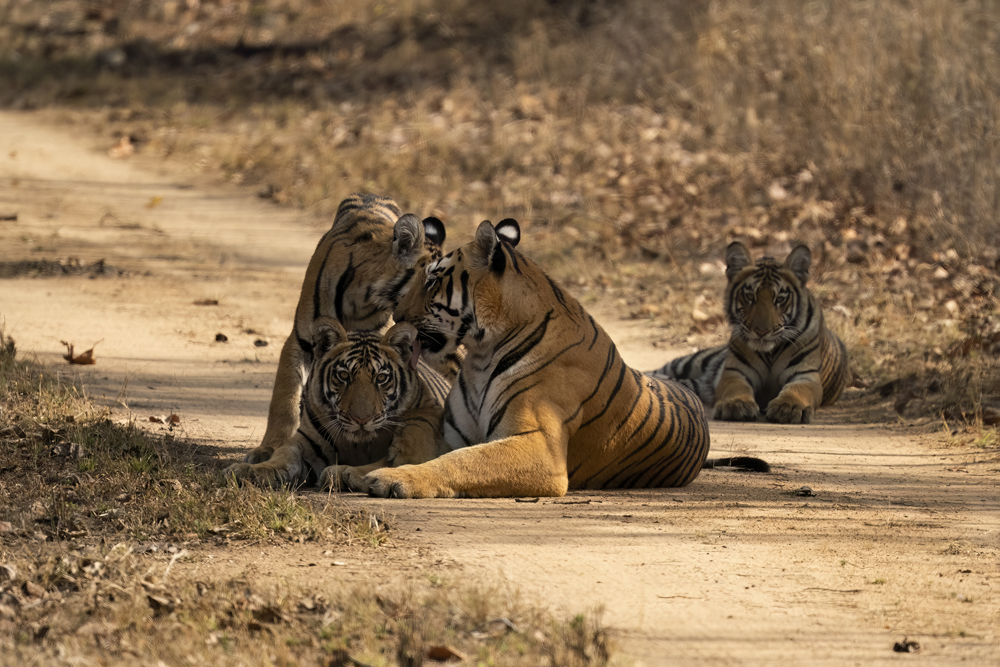
Essential Camera Gear for Wildlife Photography
When preparing for a photo safari, camera equipment should receive top priority.
The goal is to be prepared for everything from close elephant encounters to distant predator sightings.
Bring Two Camera Bodies (If possible)
Dust is one of the biggest threats to camera sensors during a safari.
Changing lenses in the field dramatically increases the risk of contamination.
Experienced safari photographers typically carry:
- One body with a longer telephoto or zoom lens
- A second body with a wider zoom lens
This setup minimizes lens changes and ensures you’re ready for any situation. If you do not have 2 camera bodies, try and bring a zoom lens that covers a wide range – something like 100-500.
Invest in a Long Telephoto Lens
A long lens is arguably the most important piece of gear you’ll bring.
Recommended focal lengths include:
- 100-400mm
- 200-600mm
- 150-600mm
- 400mm prime
- 500mm or 600mm prime
Zoom lenses are often preferred because they provide flexibility as animals move closer or farther away.
Pack a Mid-Range Zoom
Not every wildlife image needs to be tightly cropped.
Environmental portraits that show animals within their habitat often create a stronger story.
Popular options include:
- 24-70mm
- 24-105mm
- 70-200mm
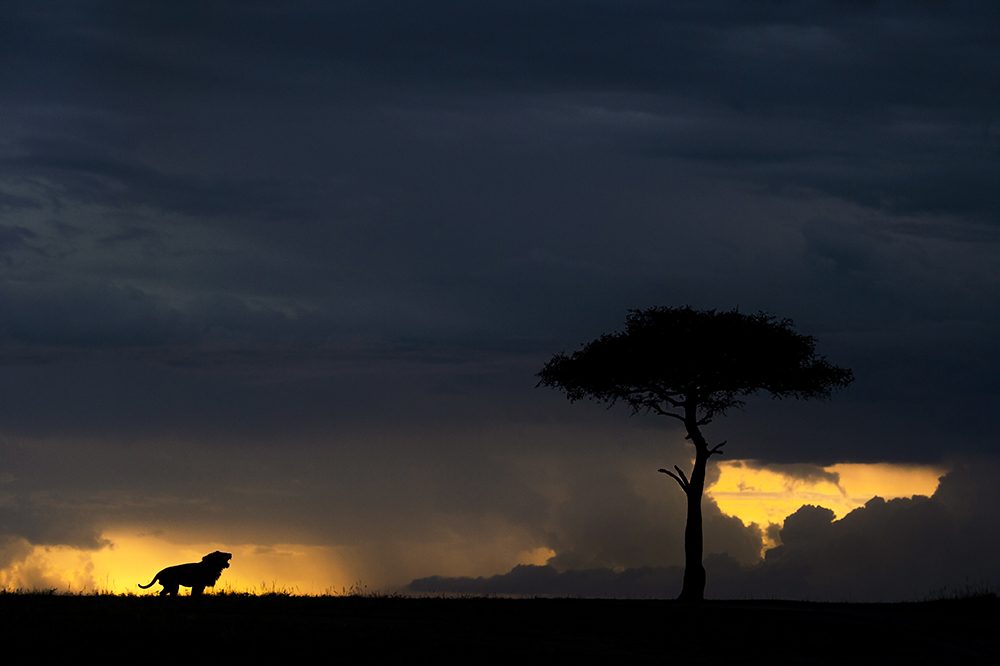
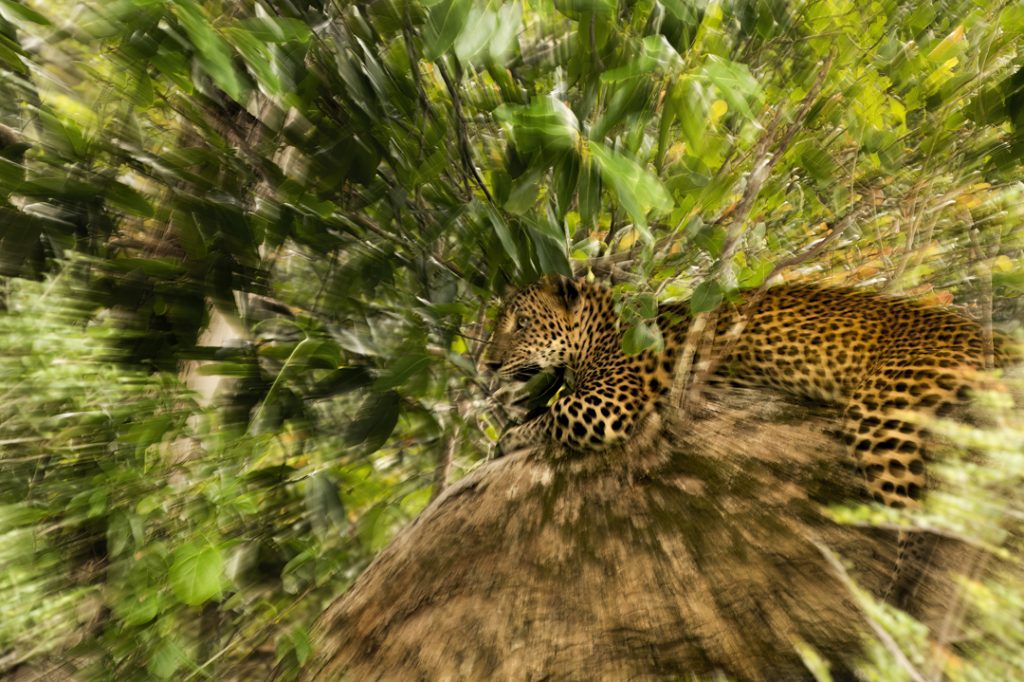
These lenses are perfect for capturing landscapes, dramatic skies, and wider wildlife scenes. This would be my number 1 tip. Most people that go on a safari purely focus on the subject and there is no way of telling where the image was taken – shoot wider and show the environment. Ask yourself what it is that makes your location unique and can you include that in the image. For example, the open planes of Masai Mara, the tree lined riverbanks of the Pantanal or the dusty lake shores of India tiger reserves.
Skip the Tripod
Tripods have limited usefulness during vehicle-based safaris.
Instead, use:
Beanbags
A beanbag provides:
- Excellent lens support
- Fast repositioning
- Reduced vibration
- Comfort during long sightings
Travel with it empty and fill it locally using beans, rice, or similar materials. Most photographic safaris will provide bean bags. Check this before you leave.
Vehicle Clamps
Many photographers prefer specialized clamps that attach directly to safari vehicle rails for added stability.
Protect Your Equipment
Safaris can be extremely dusty.
Essential protection includes:
- Dry bags
- Rain covers
- Dust covers
- Microfiber cloths
- Cleaning kits
Taking preventive measures can save expensive gear from damage. A cheap rain cover can be bought from Amazon and also will work as a dust cover. Try to get in to good habits every evening and clean your camera using compressed air or a brush and clean the lens using the correct lens cleaning fluid and micro-fibre cloths. This will ensure that you don’t get a build up of dust that can work its way in to the lens zoom rings or the camera connection ports.
Don’t Forget Power Solutions
Many remote camps operate on generators and offer limited charging hours.
Bring:
- High-capacity power banks – I personally don’t take any where apart from Nepal.
- Spare batteries
- Universal travel adapters
- Multi-port charging stations
Reliable power management is critical when shooting thousands of images over several days.
What I travel with
I travel with the following:
- 2 x Identical Camera Bodies (Mirrorless)
- 70-200mm lens (Mirrorless)
- 180-400 lens with built in 1.4x teleconverter. (DSLR Lens)
- 4 external teleconverter (Mirrorless)
- 2 Lens adapters for the DSLR lens (I always have a spare in case one breaks)
- 4x SSD storage drives (they are small and don’t take up too much space)
- Spare battery for each camera
- Spare cables
- 2x battery chargers
- Multi Plug Adapter – helps with charging multiple things especially if there is a limit time window due to generators)
- Cleaning Kit
- 2x Card Readers (I always have a spare in case one breaks)
- Laptop
- Plug Adapters for the relevant country (including spares)
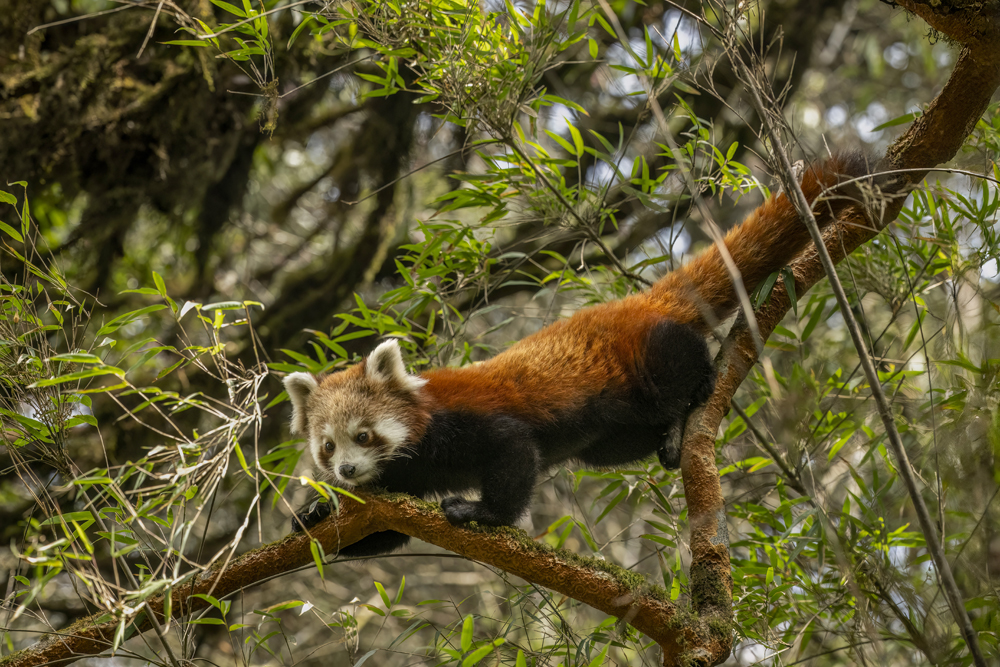
Most of these items are small and they all fit in a camera bag that complies to carry on regulations. The multi plug adapter and the duplicates of each item go in my checked in bag. The cameras and lenses are the heavy part but all fit in the bag. My bag when packed ways 12.5kg. I haven’t had any issues with taking it on the plane but more on this later.
Packing Clothing for a Safari
Surprisingly, clothing takes up far less space than camera equipment on most photography trips.
Choose Neutral Colors
Animals are accustomed to natural tones, making neutral colors the safest choice.
Recommended colors include:
- Khaki
- Olive green
- Brown
- Tan
Avoid:
- Bright colors
- White clothing (shows dust easily)
- Black and dark blue (can attract tsetse flies)
- Camouflage clothing (restricted or illegal in some African countries)
Dress in Layers
Safari temperatures can vary dramatically throughout the day.
Early morning game drives may be near freezing, while midday temperatures can become extremely hot.
Pack:
- Lightweight fleece layers
- Lightweight long sleeved shirts
- Convertible trousers
- Lightweight jackets
The ability to adjust quickly is essential. Most lodges will do laundry for a reasonable price. Check this before you go and just pack enough for 3 days and get Laundry done every few days. This is a much more efficient way of doing things than packing lots of clothes.
Travelling with Camera Gear on Airlines: Protecting Your Investment
For most wildlife photographers, the value of the equipment in their camera bag often exceeds the cost of the safari itself. Between camera bodies, telephoto lenses, laptops, and accessories, it is not uncommon to travel with $10,000 to $30,000 worth of gear. Proper planning when flying is therefore essential.
Always Carry Camera Equipment Onboard
As a general rule, never check critical camera equipment into the aircraft hold.
Checked baggage is exposed to:
- Rough handling
- Extreme temperature variations
- Potential theft
- Lost or delayed luggage
- Damage from shifting cargo
Your camera bodies, lenses, batteries, memory cards, hard drives, and laptop should always travel in your carry-on baggage whenever airline regulations permit.
Choose the Right Camera Bag
When selecting a bag for air travel, look for a model that meets the cabin baggage requirements of most international airlines.
Popular options include:
- Lowepro Pro Trekker series
- Think Tank Airport series
- Shimoda Explore and Action series
- F-Stop Mountain Series backpacks
A good travel camera bag should provide:
- Padded compartments
- Weather resistance
- Secure zippers
- Comfortable carrying systems
- Space for a laptop and travel documents
Before travelling, verify your airline’s specific cabin luggage dimensions and weight restrictions.
Dealing with Carry-On Weight Limits
One challenge wildlife photographers face is that camera gear can quickly exceed airline weight allowances.
A typical wildlife photography kit might include:
- Two camera bodies
- A 400mm to 600mm lens
- A mid-range zoom
- Extra batteries
- Laptop
- External hard drives
Together, these can easily weigh more than 12kg (26lbs).
Several strategies can help:
- Wear your photography vest and keep heavier items in pockets during check-in.
- Carry a second personal item such as a laptop bag where permitted.
- Remove lenses from the backpack if necessary to redistribute weight.
- Research airlines known for being photographer friendly before booking.
Always remain polite and professional with airline staff, particularly when travelling through smaller regional airports where baggage policies may be enforced more strictly. If an airline has a cabin luggage allowance of 7kg. I always check my larger lens in. I put it in a flight case and pack it in my suitcase. This makes it a lot easier. My equipment is insured for theft and damage if checked in to an aircraft in a flight case. If the cabin luggage limit is 11kg then I will carry all my equipment on the plane. In a lot of cases just a polite explanation that it is expensive camera equipment and lithium batteries will suffice at check in. Sometimes I have been asked to remove the larger lens from the bag and carry it separately.
Smaller Domestic Flights in countries tend to have weight limits of 7kg-12kg. With these smaller airlines. Mostly they will not even weigh your carry on luggage and if they do you can pay extra at the airport to carry it on with you.
Understanding Bush Flight Restrictions
Many premier safari destinations require travel on small bush aircraft.
Unlike international airlines, bush planes often enforce strict baggage limits, typically:
- 15kg to 20kg (33lbs to 44lbs) total luggage allowance
- Carry-on and checked luggage combined
- Soft-sided bags only
Hard-shell suitcases are frequently prohibited because they cannot be loaded efficiently into small aircraft cargo holds.
Before departure:
- Confirm luggage restrictions with your safari operator.
- Weigh your gear at home.
- Pack all belongings in soft-sided duffel bags.
- Ask whether excess baggage can be purchased in advance.
In some cases, photographers choose to book an additional luggage allowance or even an extra seat if travelling with particularly large professional equipment.
Batteries and Airport Security
Lithium-ion batteries are subject to strict aviation regulations.
Generally:
- Spare batteries must travel in carry-on luggage.
- Battery terminals should be protected from short circuits.
- Power banks are not permitted in checked baggage.
- Individual airlines may impose watt-hour limits.
A simple solution is to store batteries in dedicated battery cases or cover contacts with electrical tape.
When passing through security screening, be prepared to remove large camera bodies and lenses for inspection, just as you would a laptop.
India is particularly strict on this and you will have to remove all lenses, cameras, laptops and batteries. Allow extra time to get through security in India
Back Up Your Images Before Travelling Home
One of the biggest mistakes photographers make is waiting until they return home to back up their photographs.
During your safari:
- Download images daily.
- Maintain copies on multiple memory cards or SSD/Hard Drives
- Use portable SSDs for backup.
- Consider carrying one backup drive in a separate bag.
I make 2 copies of my images and when I return home 2 SSD drives go in my pockets and the other 2 in my camera bag.
Consider Specialist Camera Insurance
Airline liability for lost or damaged baggage is often significantly lower than the value of professional photography equipment.
Before travelling, ensure your insurance policy specifically covers:
- International travel
- Theft
- Accidental damage
- Loss during transit
- High-value lenses and camera bodies
Keep digital copies of purchase receipts and record serial numbers for all major equipment in case you need to make a claim.
Quick Airline Travel Checklist for Photographers
✅ Camera bodies packed in carry-on luggage
✅ Lenses packed in carry-on luggage – or as described
✅ Batteries and power banks packed in cabin baggage
✅ Memory cards stored separately from camera gear on return flight
✅ Camera bag complies with airline size restrictions
✅ Bush flight weight limits confirmed if applicable
✅ Daily image backup strategy in place
✅ Insurance documents and equipment serial numbers accessible
How to Choose the Right Photo Safari Company
Your guide can have a greater impact on your results than the camera equipment you carry.
Great guides understand wildlife behaviour and know how to position vehicles to maximize photographic opportunities. Your photographic guide should be fairly knowledgeable of all of camera systems not just the brand that they shoot with. They should be able to inspire you to learn new techniques and try different things whilst being knowledgeable about the subjects that you are photographing and the location.
Do I book with a big company or an individual photographer?
I have guided for some of the big companies but now have my own company as a stand-alone photographer and I plan, book and guide all my own trips worldwide. Most people book with a company for the security that a bigger name brings, and most are well established and well known and show up very high in online search rankings. So, the main advantage of travelling with a big company is the confidence that you are booking with a company that is specialist and established and one that offers several easy payment options.
If you decide to look at the smaller companies or individual photographers you will tend to get a more personalised service, smaller groups and more specialist tuition. The most important thing with booking with a small company or individual is that they have the relevant insurance to operate. At the very least a company should have Public Liability and Tour Operator Insurance and legally they should also have Financial Failure Insurance, or your money should be held in either a trust or bond account. This is a legal requirement to ensure that if the company went bankrupt then your money is safe. A small company should also have Supplier Failure Insurance to protect your money if one of the local companies that they work with go bankrupt.
Insurance is expensive and there are lots of smaller companies and individuals that take the risk and trade without any of these. I have Tour Operator Insurance, Financial Failure Insurance and Supplier Failure Insurance and advertise this fact on my website as it is a key requirement to operate.
Smaller Companies will usually want bank transfer as the main way of payment due to the cost of credit card charges etc. I offer bank transfer and then credit card payments through a secure link (there is a small additional charge for this). Bigger companies will usually offer credit card as standard.
If you have not yet booked your safari or photography tour then check out my blog post here to help you choose what photography safari is right for you. If you are interested in travelling with me on one of my photo tours then check out my tours page here.
One of the biggest questions to ask is whether you will receive photographic tuition and help. If you are a beginner then some photo safaris only cater for those that know their camera well and just want to get put in the best place to capture images, but on these trips the guide is not responsible for helping you with your settings or camera set up. A lot of photo safaris are not really set up for complete beginners.
All my tours are aimed at beginners and I cover everything from set up to camera operation, light, behaviour and new and different techniques.
Before booking, ask detailed questions about the company and its approach to photography.
How Many Photographers Are in Each Vehicle?
This is perhaps the most important question.
For wildlife photography, fewer photographers generally means better image opportunities.
Ideally:
- One photographer per row
- Maximum of three to four photographers per vehicle
This allows freedom to move from side to side as action unfolds.
Are the Vehicles Designed for Photography?
Photography vehicles often feature:
- Open sides
- Removable windows
- Drop-down doors
- Camera rests
- Extra storage for gear
These modifications significantly improve shooting flexibility.
Do They Have Off-Road Access?
In many national parks, vehicles must stay on established roads.
Private concessions often permit off-road driving, allowing guides to:
- Follow predators
- Reach better viewing positions
- Avoid crowds
- Create cleaner backgrounds
The difference in photographic opportunities can be dramatic.
Are the Guides Photography Trained?
A photography-savvy guide understands:
- Light direction
- Sun angles
- Background management
- Animal behavior prediction
- Vehicle positioning
These skills can dramatically improve image quality without requiring any additional camera equipment. This is one of the main jobs of a photographic guide to put you in the best position to get the images that you want.
Health and Travel Preparation
Before departure, ensure you’ve handled all health and travel requirements.
Important considerations include:
- Passport validity requirements
- Travel insurance
- Emergency medical coverage
- Equipment insurance
- Vaccination requirements
- Malaria prevention where applicable
- Visas for the country you are visiting – if required.
Consult a travel health specialist well in advance of your departure date.
Final Photo Safari Checklist
Before leaving home, confirm you’ve completed the following:
✅ Purchased comprehensive travel and equipment insurance
✅ Verified weight restrictions for all domestic and bush flights
✅ Packed batteries and power banks in carry-on luggage
✅ Backed up memory cards and formatted spares
✅ Downloaded offline maps and travel documents
✅ Visited a travel clinic regarding vaccinations and medications
✅ Confirmed camera cleaning supplies are packed
✅ Tested all batteries, chargers, and accessories
✅ Reviewed park regulations and photography guidelines
✅ Familiarises yourself with your camera operation – if you are new to photography then consider booking a workshop with a photographer before you go
Personal Preparation
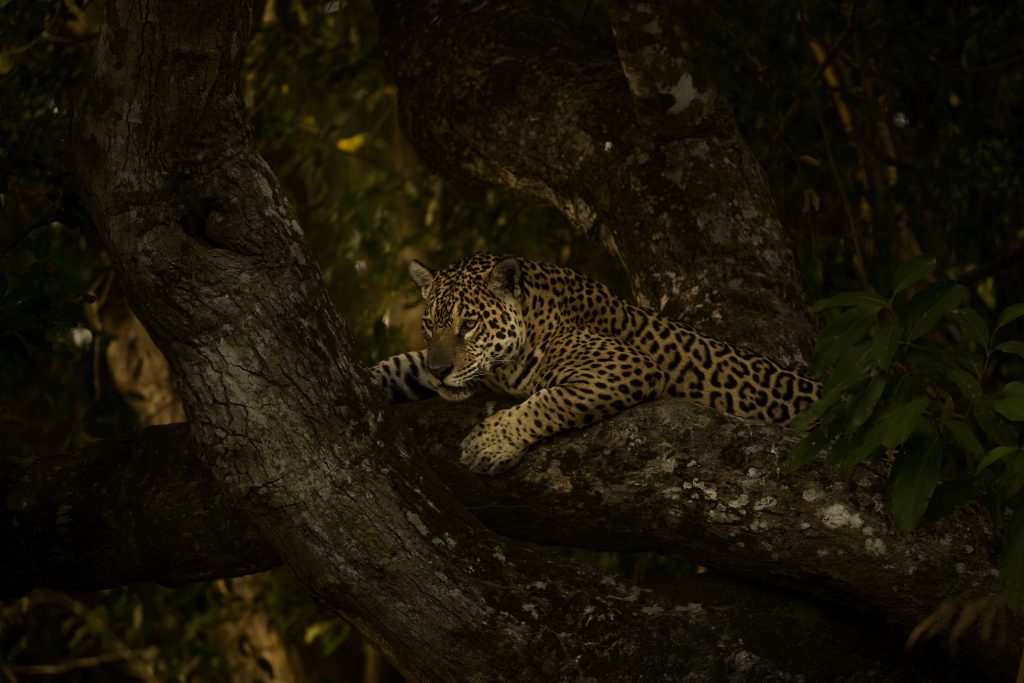
This is just a final personal tip. Go to a new location with a clear focus. What do you want to achieve photographically. Look online at images that other photographers have taken of the specific destination. This is not intended for you to copy what they do but look at the backgrounds, the light and the type of images that can be achieved. Of course, nobody can place your wildlife subject in the exact place that you want it to be, but if you build up a mental or written shot list of the type of images you want then it will help you when you are at your destination to work with your guide to try to achieve certain images. For example, if you want a Jaguar in a tree with dappled light in the Pantanal, you can’t force the Jaguar to be there, but what you can do is communicate with your guide and boat driver who can then try to visit some of the favoured trees that the jaguars like to lay in.
If you would like to read more information on this then check out my blog post on how to photograph a new destination.
Final Thoughts
Your first wildlife photo safari is more than just a vacation. It’s an opportunity to immerse yourself in nature, develop your wildlife photography skills, and create images that tell powerful stories about the natural world.
By prioritizing photographic opportunities over luxury, packing strategically, choosing specialized guides, and preparing thoroughly, you’ll dramatically increase your chances of returning home with unforgettable images and memories.
Wherever you go in the world, careful planning will transform your first photo safari from a simple adventure into a truly extraordinary photographic experience.
If you have any questions or need any help on planning your wildlife photography tour then get in touch.