
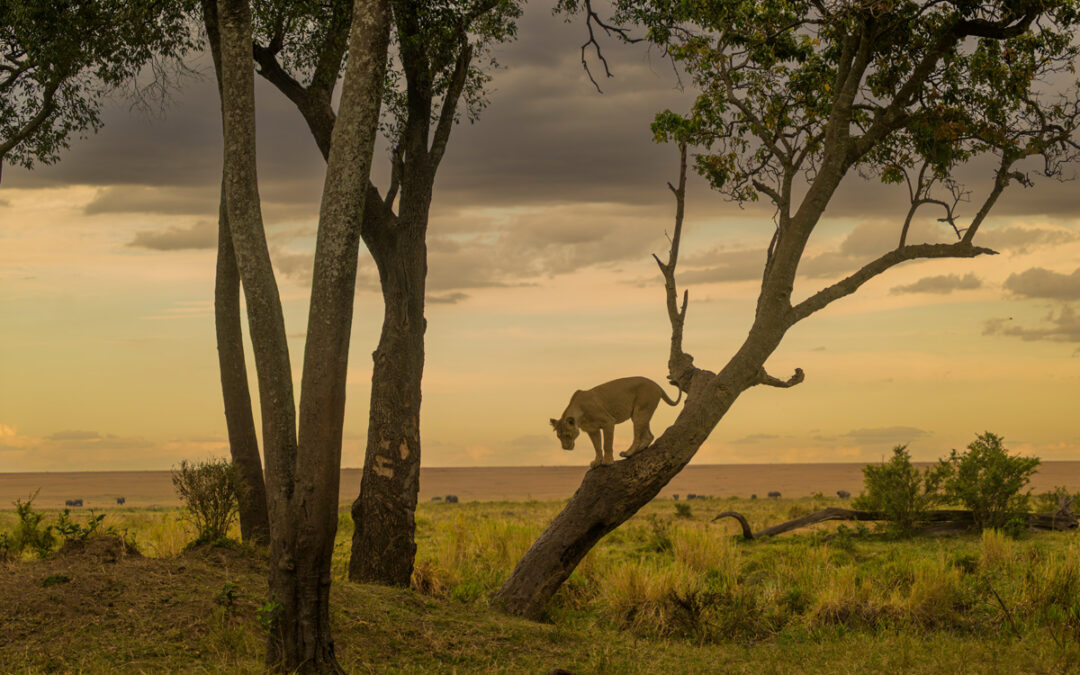
6 Creative Camera Settings and Techniques That Will Transform Your Wildlife Photography
Wildlife photography is about far more than simply documenting animals. The most compelling images tell a story, reveal behaviour, and create an emotional connection between the viewer and the subject. While expensive gear can help, mastering a few creative settings and techniques will have a far greater impact on your photography.
Photography can seem incredibly technical and confusing at first. New photographers are often faced with endless discussions about aperture, shutter speed, ISO, autofocus modes, metering patterns, and dozens of camera settings. It is easy to feel overwhelmed and believe that creating great images requires mastering every button and menu on a camera. In reality, photography is often much simpler than many people think. At its core, it is about making a few key decisions: what to photograph, how much light to let into the camera, where to position yourself, and when to press the shutter. While technical knowledge can help refine your results, great photography is usually driven by vision and decision-making rather than complicated settings. By focusing on a handful of fundamental choices and learning to see light, composition, and moments, photographers can create powerful images without getting lost in the technical details.
After teaching hundreds of photographers that are beginners and just starting out I have tried to simplify the basic settings and instead of knowing all the technicalities try thinking this way – “If I change this what does it do for my photography?”.
Here are six key settings and considerations that can elevate your wildlife images from ordinary snapshots to stunning works of art.
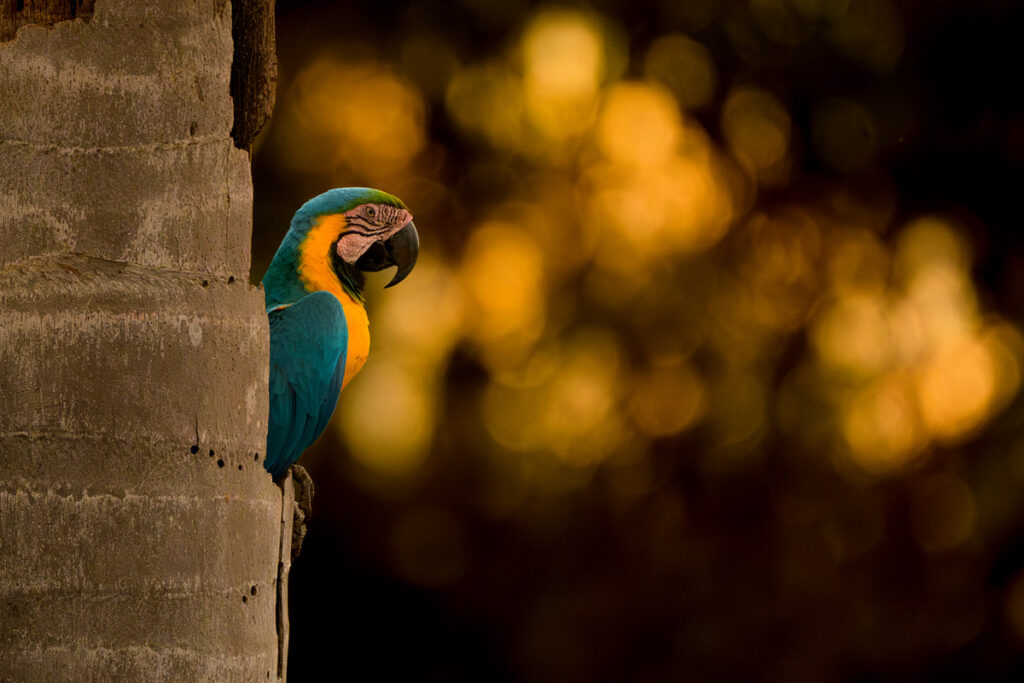
1. Aperture: Control What Your Viewer Sees
Aperture determines how much of your image appears sharp and in focus. It is one of the most powerful creative tools available to wildlife photographers.
A wide aperture, such as f/2.8, f/4, or f/5.6, creates a shallow depth of field. This blurs the background and helps the animal stand out from its surroundings. A soft, creamy background is particularly effective when photographing birds, mammals, or portraits of wildlife where the eyes are the main point of interest.
Most of the time you can shoot on the widest aperture (smallest number) to create that separation from the background. But there are times when you may want to shoot on a smaller or narrower aperture.
A narrower aperture, such as f/8 or f/11, keeps more of the scene in focus. This is useful when photographing animals within dramatic landscapes or when you want to show environmental context. It is also useful when photographing groups of animals or birds if you want more of them to be in focus.
Creative tip: Focus on the eyes and use a wide aperture to create a powerful portrait that draws viewers directly into the animal’s gaze.
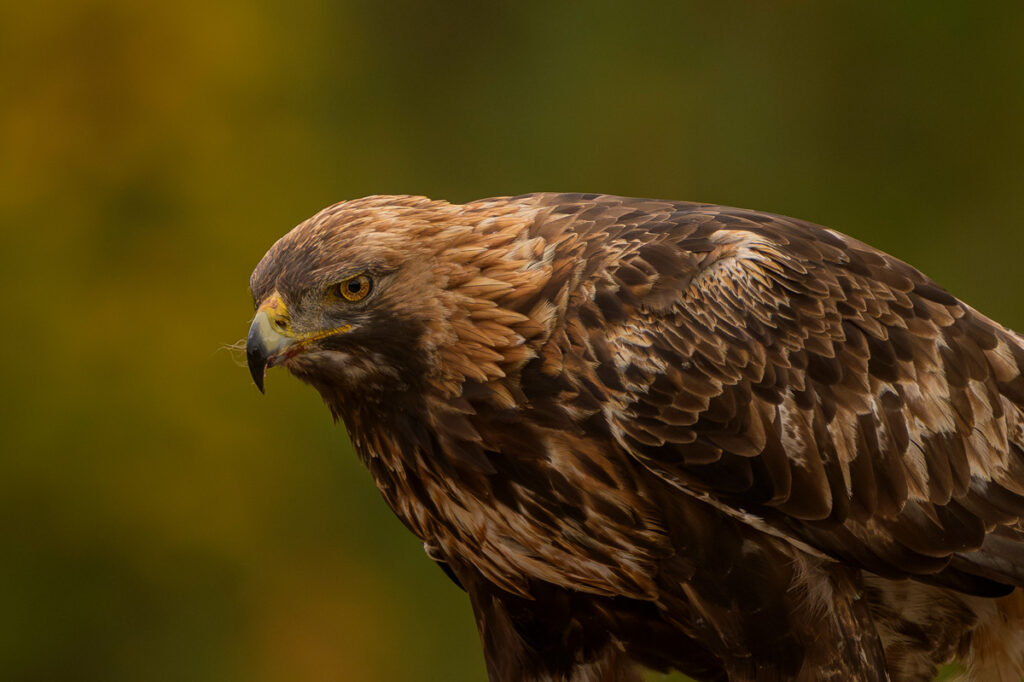
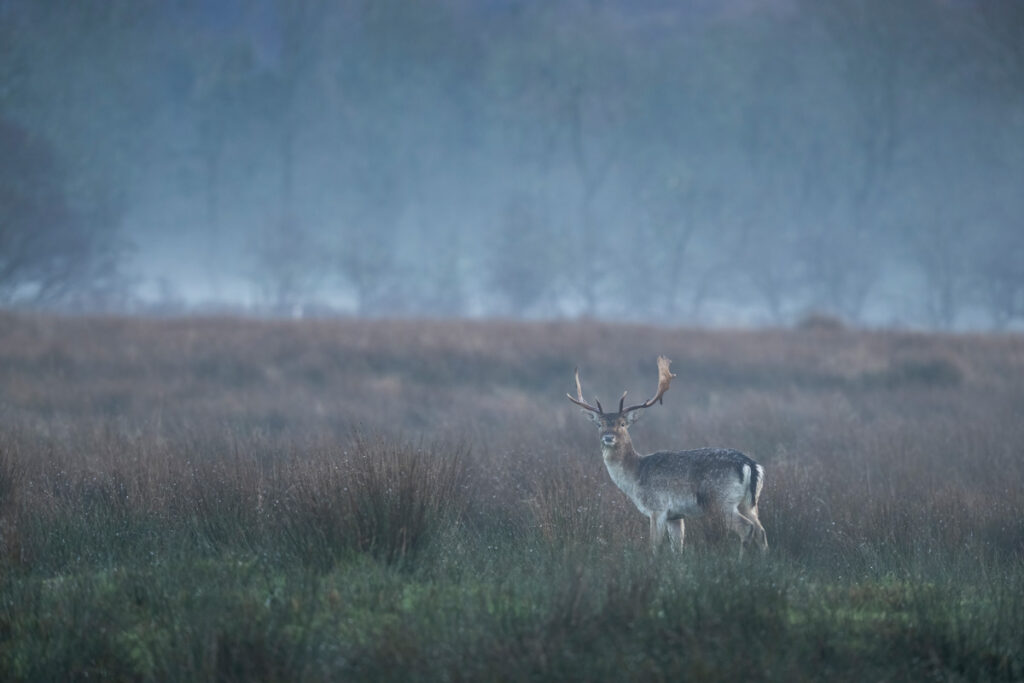
2. Shutter Speed: Freeze Action or Show Motion
Shutter speed controls how movement is captured. Wildlife subjects can move unpredictably, making this setting critical.
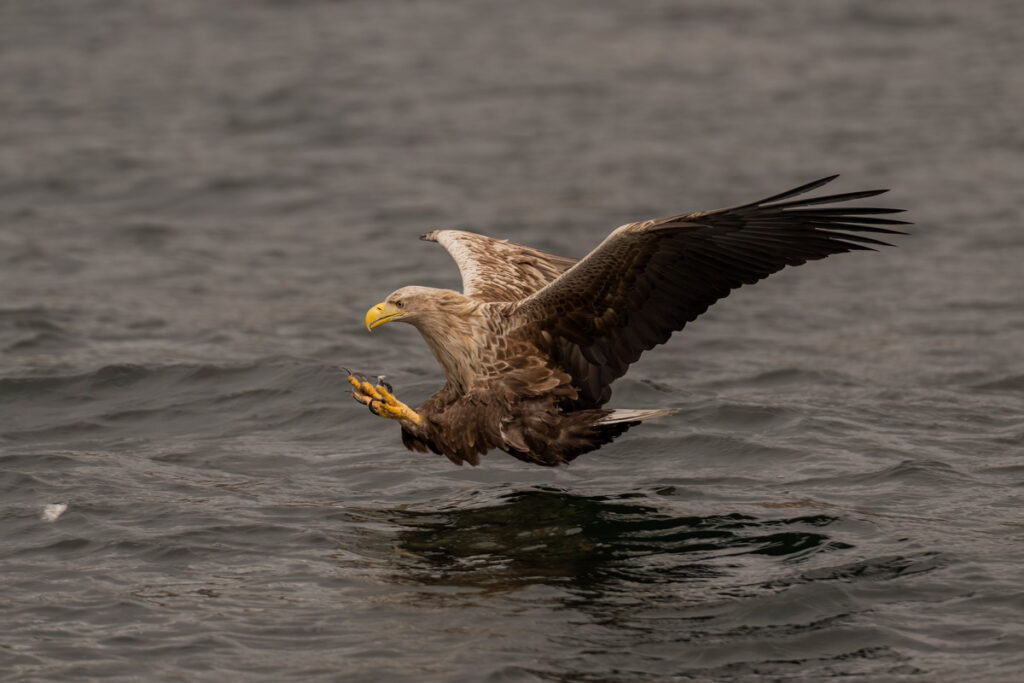
Fast shutter speeds, such as 1/1000s to 1/4000s, are ideal for freezing action. They allow you to capture sharp images of birds in flight, predators chasing prey, or animals jumping and running.
Most of the time 1/1000s is fast enough. I tend to leave my camera on this setting most of the time. I will change it if something is moving very fast and then I may shoot on 1/4000s or if the light is lower and I am trying to do more portrait images rather than action, I may choose to shoot at 1/250s but in most situations 1/1000s works for me.
There are times however when I want to create something completely different and, in these cases, I slow the shutter speed down.
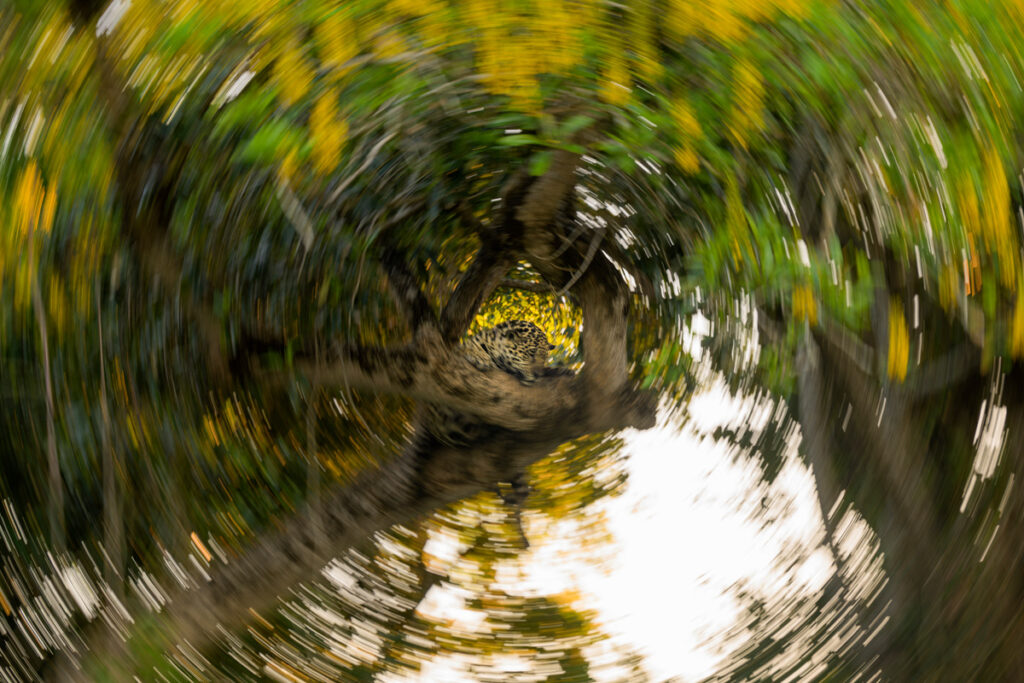
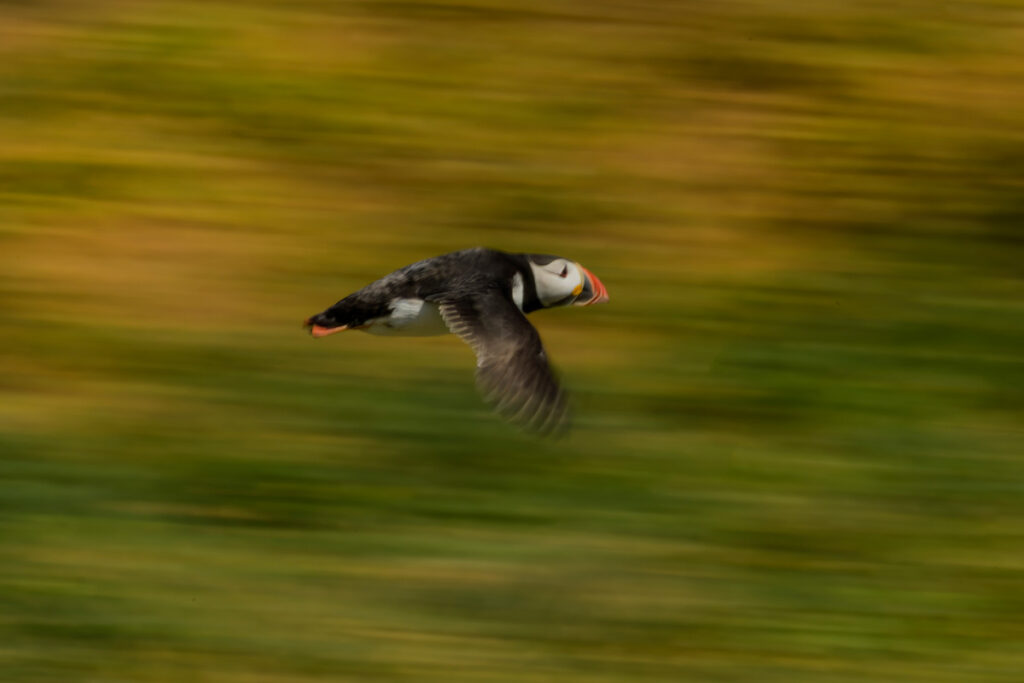
Slower shutter speeds can be used creatively to introduce motion blur. A flying bird with slightly blurred wings can convey movement and energy far better than a completely frozen image.
Some photographers intentionally use very slow shutter speeds and pan with moving subjects. This technique keeps the animal relatively sharp while blurring the background, creating a strong sense of speed.
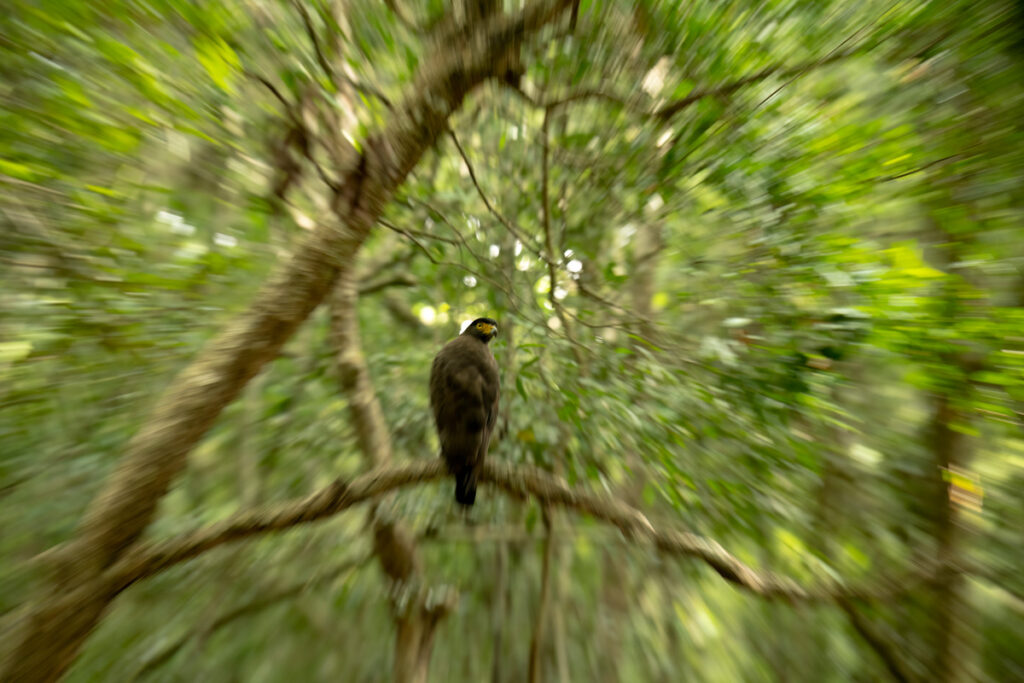
I also use it for zoom bursts and other Intentional Camera Movements (ICM)
Creative tip: Experiment with shutter speeds between 1/15s and 1/80s while tracking moving animals to create artistic motion effects.
3. White Balance: Shape the Mood
White balance affects the colour temperature of your photographs and can dramatically influence the mood of an image.
While Auto White Balance performs well in many situations, creative photographers often adjust white balance manually for greater artistic control.
A warmer white balance enhances the golden tones of sunrise and sunset, emphasizing the beauty of early morning or evening light. A cooler white balance can create a sense of isolation, mystery, or harsh winter conditions.
For example, warming an image of a lion at sunrise can reinforce feelings of warmth and strength, while cooling an image of a polar bear can emphasize the cold Arctic environment.
80% of the time Auto White Balance will be fine for most situations but try shooting on cloudy or shade for warmer tones. Both work well for sunsets, sunrises, early morning golden light, autumn colours and animals that are naturally red or orange (Red Squirrels, Tigers, Red Pandas etc). if you shoot in Raw the White Balance can be changed in post processing but doing it in camera helps you see colours and tones that maybe you would not have noticed before. Read more on this here
Creative tip: Don’t be afraid to move away from technically neutral colours if it helps communicate the atmosphere you experienced in the field.
4. Exposure Compensation: Take Control of Brightness and Mood
Exposure Compensation allows photographers to adjust brightness without changing aperture or shutter speed settings. While it is often used as a corrective tool, it can also be one of the most powerful creative controls in wildlife photography. You can read more about Exposure Compensation Here
Here’s what it actually does depending on your shooting mode:
- Aperture Priority (A/Av): Adjusts shutter speed
- Aperture Priority with Minimum Shutter Speed set in Auto ISO: Adjusts Shutter Speed
- Shutter Priority (S/Tv): Adjusts aperture
- Program (P): Adjusts both aperture and shutter speed as a pair
- Manual with auto ISO: Adjusts the ISO
- Manual: Does not work
It only modifies the automatic exposure variables your camera controls.
Why does this matter? Because your camera’s light meter is a machine with a single assumption built into its firmware: everything in the frame averages out to 18% grey.
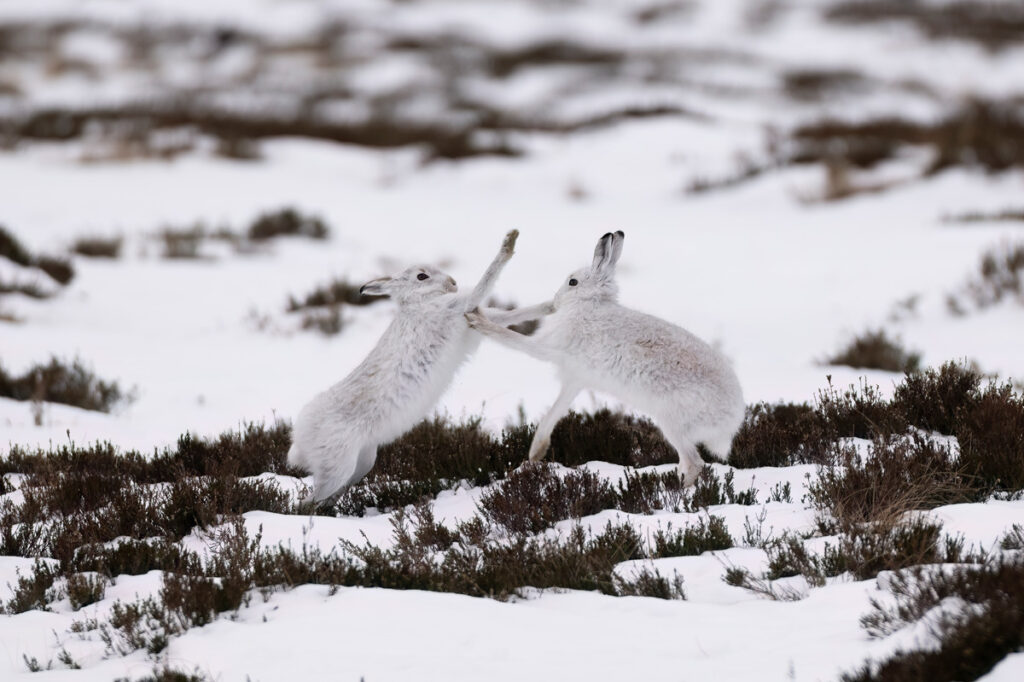
Wildlife scenes frequently fool a camera’s metering system. Bright subjects such as swans, mountain hares, or animals against snow can appear dull and grey because the camera tries to average the scene to a mid-tone. Applying positive exposure compensation helps preserve the natural brightness of the subject. Similarly, dark animals against bright backgrounds may require negative exposure compensation to maintain detail and prevent highlights from being blown out.
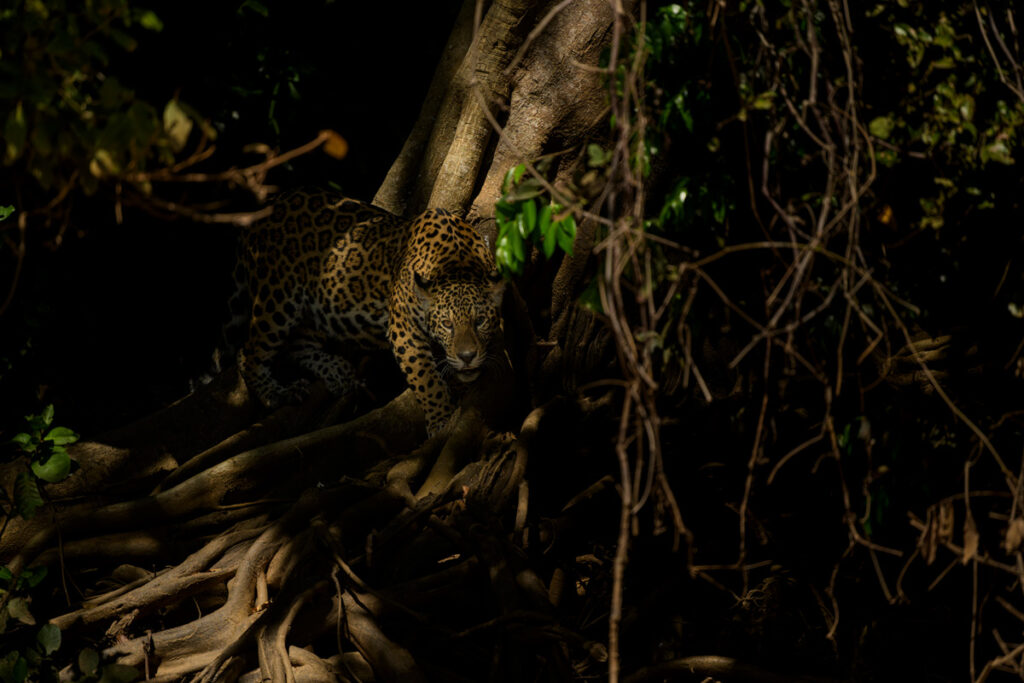
As a rough rule if you are photographing anything against a bright background shoot at +1. If you are photographing anything on a darker background (generally anything below the tree line) shoot on -1. The latter of the 2 will stop your images looking flat, will protect highlights and will add contrast to the image.
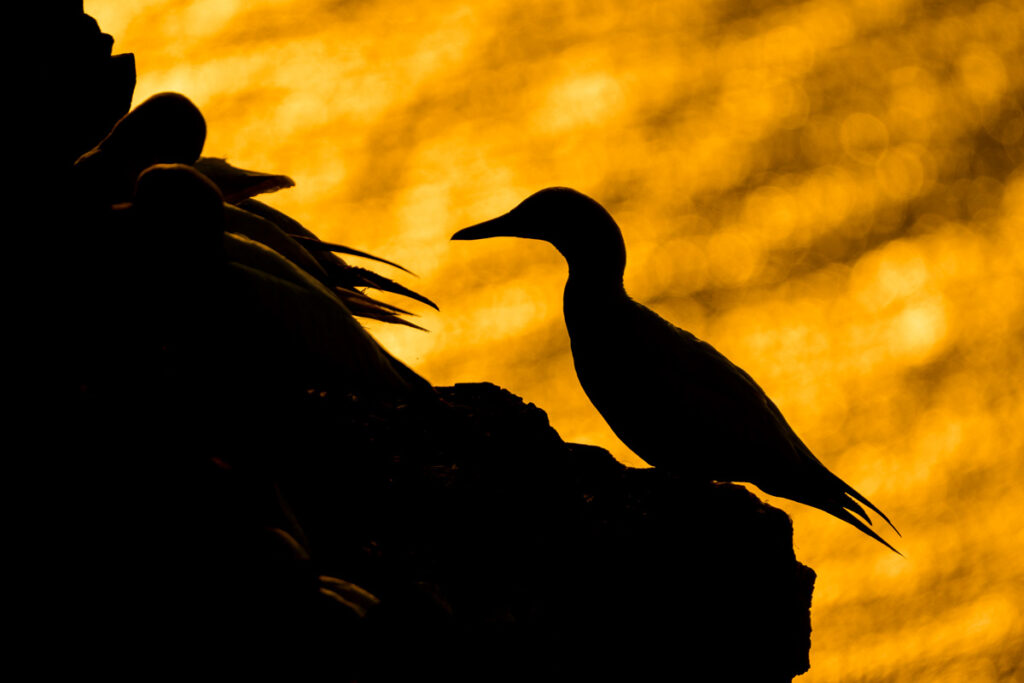
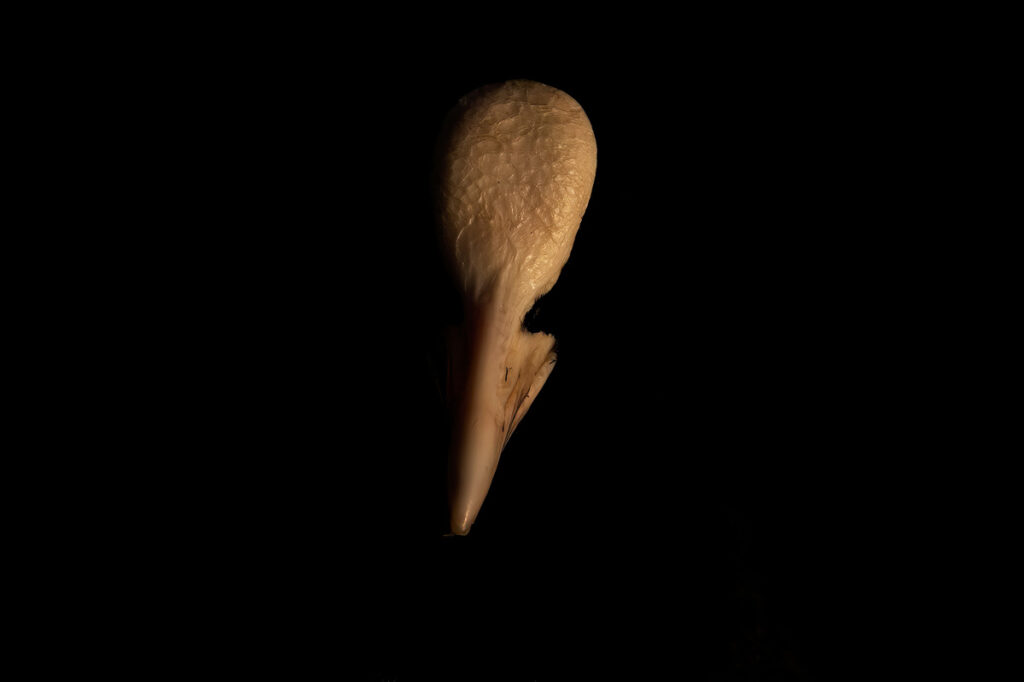
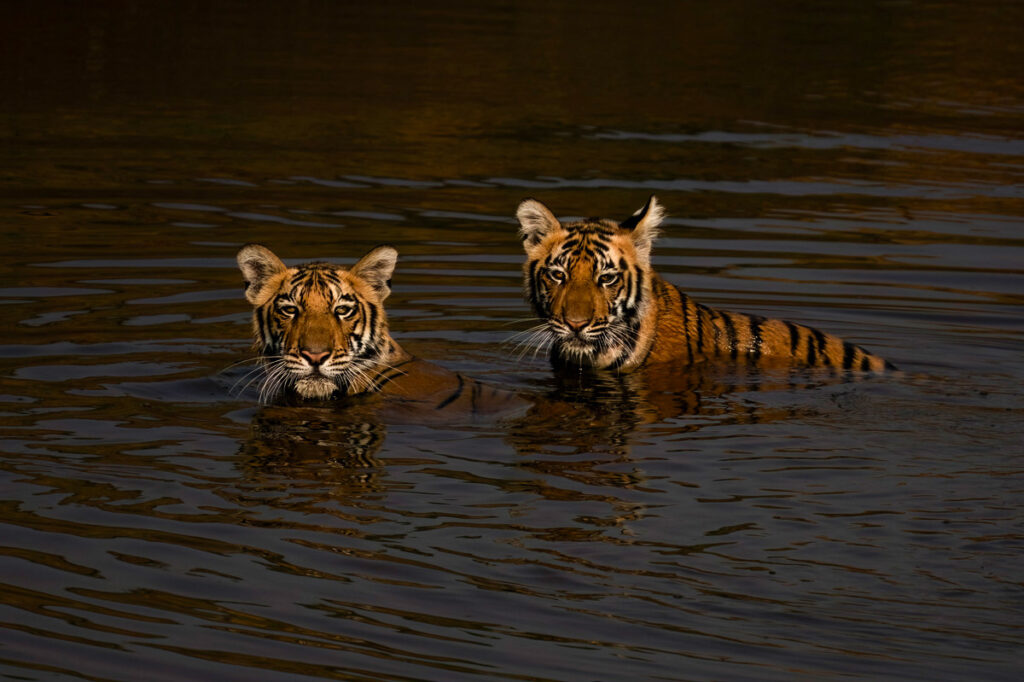
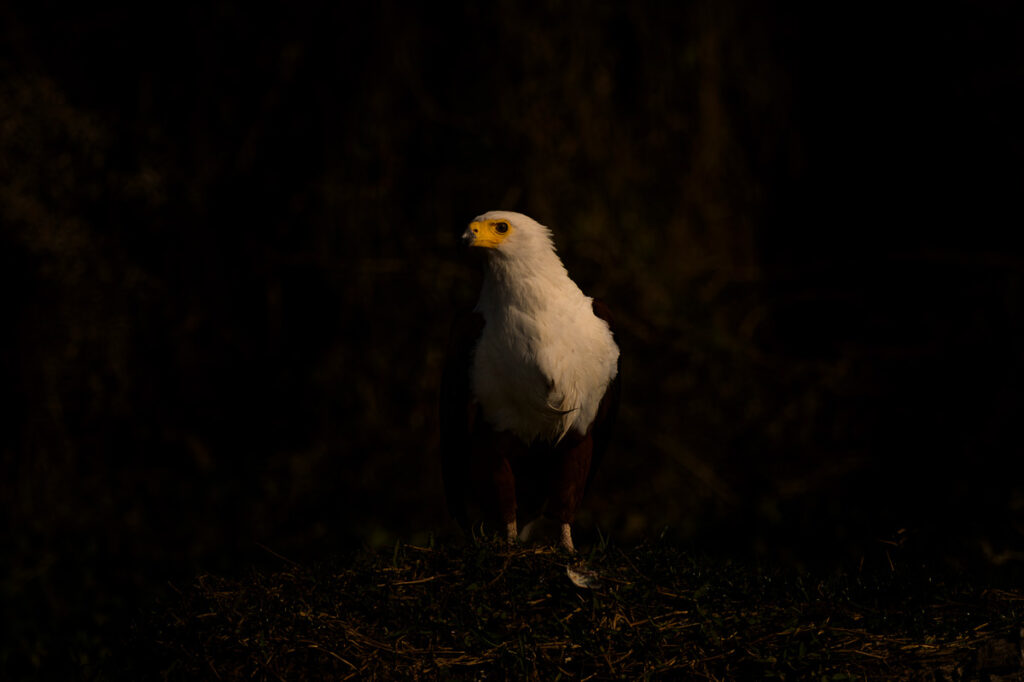
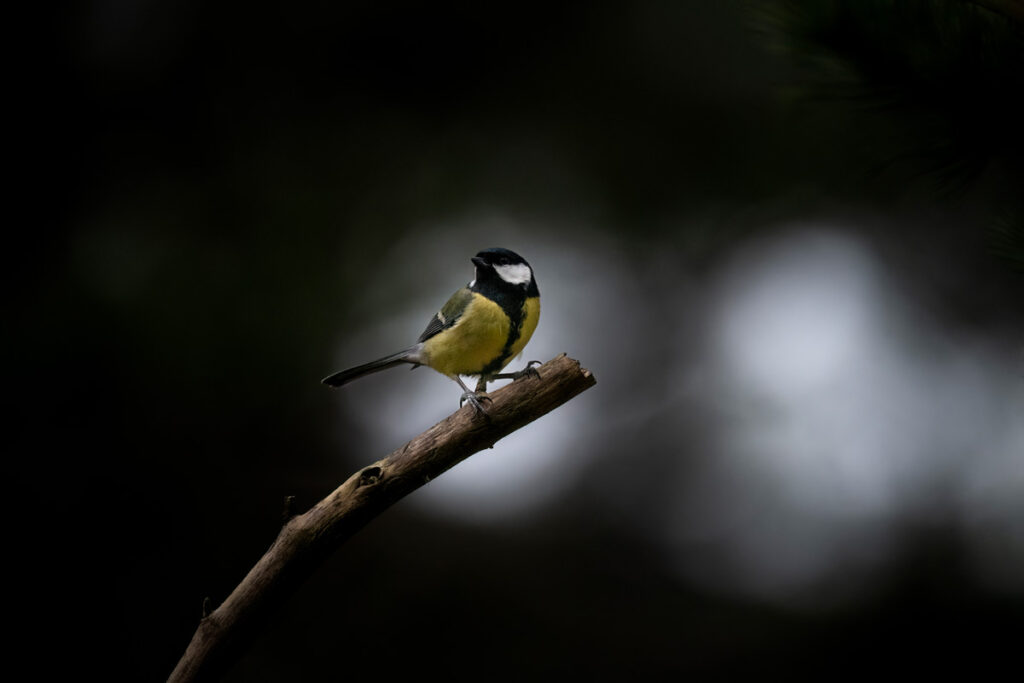
Beyond technical corrections, exposure compensation can be used to deliberately shape the mood of an image. Applying negative exposure compensation can create dark, dramatic, and moody photographs. Underexposing a backlit elephant at sunrise, for example, can emphasize shadows, silhouettes, and rich colours, creating a powerful and emotional image. This approach works particularly well with low-key photography, where much of the frame is intentionally dark and attention is drawn to a small, illuminated area of the subject.
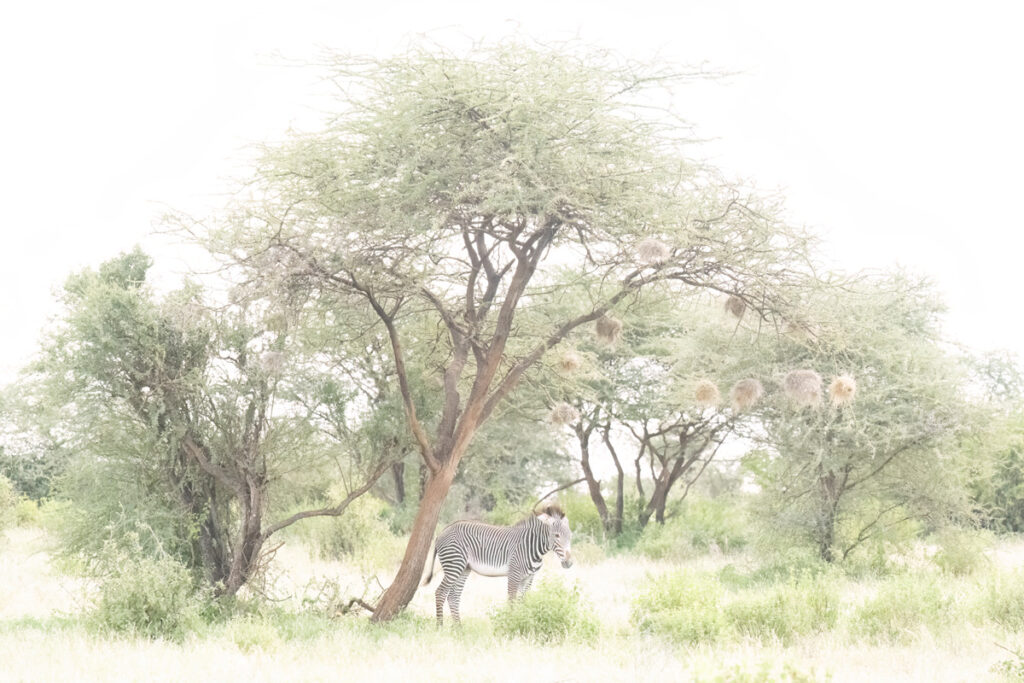
Conversely, adding positive exposure compensation can create beautiful high-key images. By intentionally brightening a scene, photographers can produce light, airy photographs with minimal shadows and a clean, simplified feel. High-key techniques are especially effective when photographing white birds, animals in snow, or subjects against bright skies or water, where the goal is to create an elegant and minimalist composition.
Exposure Compensation is especially valuable when working in Aperture Priority mode (with a minimum shutter speed set in Auto ISO settings) or Manual with Auto ISO enabled, allowing you to quickly adapt to changing conditions while maintaining your creative vision. In these modes the camera changes the ISO and doesn’t change the shutter speed or the aperture.
If you are not confident shooting in manual and your camera does not have the facility to set a minimum shutter speed in auto ISO then shoot in Shutter Priority mode (TV for Canon). The camera will change the aperture but whilst you are learning this is a good compromise to make.
Creative tip: Don’t think of Exposure Compensation as simply a tool for fixing exposure. Use it to intentionally create dark and moody low-key images with negative compensation or bright, ethereal high-key images with positive compensation. Always check your histogram to ensure important details are retained where you want them. Want to read more about using exposure compensation creatively then read here
5. Light: The Secret Ingredient of Great Wildlife Photography
No camera setting has more influence on image quality than the natural light you see.
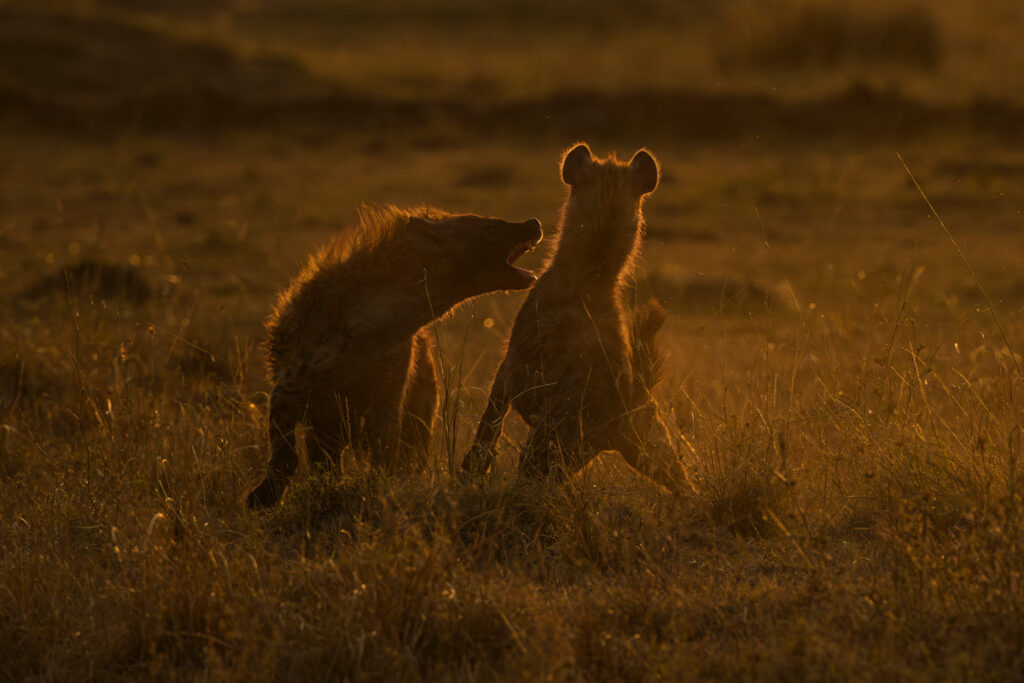
The soft light during the golden hours, shortly after sunrise and before sunset, often produces the most striking wildlife photographs. It creates warm colours, gentle shadows, and attractive catchlights in the eyes. This is why serious photographers are always out early!!
Side lighting can emphasize textures such as fur, feathers, scales, and wrinkles.
Backlighting can create dramatic silhouettes or illuminate feathers and fur with a glowing rim of light.
Even overcast days have creative advantages. Cloudy conditions provide soft, even lighting that is excellent for photographing animals with highly detailed plumage or fur.
Creative tip: Instead of simply photographing the animal, observe how the light interacts with it and position yourself accordingly. Read more about understanding the angles of light here
6. Position: Backgrounds and Eye Level Matter
Your shooting position can completely change the impact of a wildlife image.
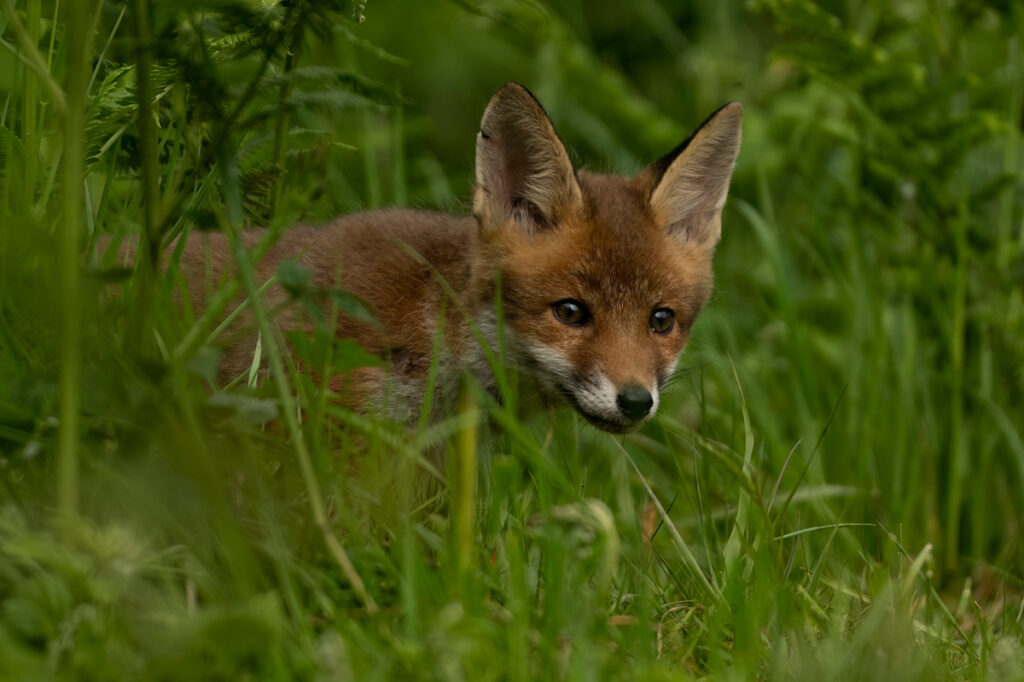
One of the most effective techniques is to get down to the animal’s eye level. Photographs taken from eye level create intimacy and help viewers connect with the subject. Images shot from standing height often feel detached and less engaging. If you achieve an eye level view you will also blur out the background which separates the subject from it and makes it stand out more.
Background choice is equally important. A distracting background can ruin an otherwise excellent photograph. Before pressing the shutter, take a moment to examine what appears behind the animal. Small changes in your position can transform a cluttered scene into a clean, professional-looking composition. Use specific contrasting colours in the background to help with a balanced composition or to create a natural vignette around your subject.
Using a distant background combined with a wide aperture can create beautiful, smooth colours and textures that complement the subject rather than compete with it.
Creative tip: Move a few steps left, right, higher, or lower before taking the shot. Often, the difference between a good image and a great one is simply a better background or angle of view.
Final Thoughts
The best wildlife photographs are created through a combination of technical skill and creative vision. By mastering aperture, shutter speed, white balance, exposure compensation, light, and positioning, you gain control over how your audience experiences the scene.
The more knowledge you have the more you will understand but in the beginning there is so much to read or watch and it is generally highly technical so when you are first starting just keep thinking – If I change this what will it do to my image? Then change it and look at the results.
The next time you head into the field, challenge yourself to focus on one of these elements at a time. As you become comfortable using them creatively, you’ll discover that wildlife photography is not just about capturing images of animals and birds, but about telling powerful stories through your images.
If you have any questions or need any help with this then contact me
If you would like to learn more then why not join me on one of my Scotland based workshops or on one of my overseas tours